

Hey there! I'm a supplier of Rockwool Composite Panels. Over the years, I've seen firsthand how these panels can transform a building, offering excellent insulation, fire resistance, and durability. Today, I'm gonna walk you through the process of installing Rockwool Composite Panels on a metal frame. It might seem a bit daunting at first, but with the right approach and a bit of know - how, you'll be able to get the job done smoothly.
Preparation
Before we start installing the Rockwool Composite Panels, proper preparation is key. First off, you need to get your hands on all the necessary tools. You'll need a measuring tape, a saw (either a circular saw or a jigsaw depending on your preference and the thickness of the panels), a drill, screws, a level, and safety equipment like gloves and goggles. Safety should always be your top priority, so don't skip out on the protection gear.
Next up, take a good look at the metal frame. Make sure it's clean, free from any rust, debris, or sharp edges. If there's any rust, use a wire brush to remove it and then apply a rust - resistant primer. The frame also needs to be straight and level. You can use a level to check this. If it's not, you'll have to adjust it before proceeding.
Now, it's time to measure the panels. You want to make sure they fit perfectly on the metal frame. Measure the length and width of the frame accurately and then transfer these measurements to the Rockwool Composite Panels. You can use a measuring tape and a pencil to mark the panels. Remember, precision is important here. A small error in measurement can lead to gaps or misalignments during installation.
Cutting the Panels
Once you've measured and marked the panels, it's time to cut them. If you're using a circular saw, make sure the blade is sharp and suitable for cutting Rockwool Composite Panels. Set the depth of the blade according to the thickness of the panel. Start the saw and slowly guide it along the marked line. Keep a firm grip on the panel to prevent it from moving around.
If you prefer a jigsaw, it gives you more flexibility, especially when you need to make curved cuts. Just like with the circular saw, make sure the blade is appropriate for the job. Start the jigsaw and slowly follow the marked line. Take your time and be careful not to rush the cut. After cutting, check the edges of the panel. If there are any rough edges, you can use sandpaper to smooth them out.
Installing the Panels on the Metal Frame
Now that the panels are cut to size, it's time to start installing them on the metal frame. Begin by positioning the first panel at one corner of the frame. Make sure it's aligned properly with the edges of the frame. You can use a level to double - check its alignment.
Next, use a drill to make holes in the panel where it meets the metal frame. Then, insert screws through these holes and into the frame. Make sure the screws are tight enough to hold the panel securely but not so tight that they damage the panel. Space the screws evenly along the edges of the panel.
As you install each panel, take your time to ensure that there are no gaps between adjacent panels. If you notice any small gaps, you can use foam sealant to fill them. This will help improve the insulation properties of the installation. Work your way across the frame, installing each panel one by one in a similar manner.
Connecting Panels Together
Once you have several panels installed on the frame, you need to connect them together properly. Some Rockwool Composite Panels come with a tongue - and - groove system. If yours do, simply align the tongue of one panel with the groove of the adjacent panel and press them together firmly. This creates a tight seal between the panels.
For panels without a tongue - and - groove system, you can use adhesive or additional screws. Apply a thin layer of adhesive along the edges of the panels and then press them together. Make sure to wipe off any excess adhesive. If you're using screws to connect the panels, drill holes through both panels and insert the screws. Again, make sure the screws are tight but don't over - tighten them.
Finishing Touches
After all the panels are installed and connected, it's time for the finishing touches. Check the entire installation to make sure all the panels are secure and there are no loose screws or gaps. If you find any issues, fix them right away.
You might also want to consider adding a protective coating to the panels. This can help enhance their durability and resistance to the elements. There are various coatings available on the market, so choose one that's suitable for Rockwool Composite Panels.
Where to Find Quality Rockwool Products
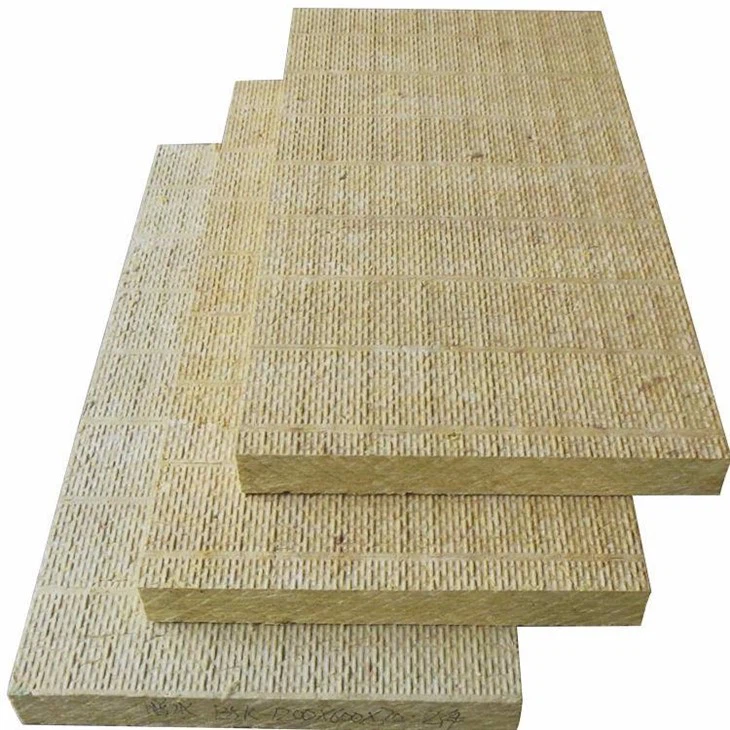
If you're in the market for high - quality Rockwool products, we've got some great suggestions. You can check out our Insulation Rock Wool Board, which offers excellent thermal insulation properties. If you're looking for something more flexible, our Rock Wool Sheet is a great option. And for applications that require extra strength, our Rigid Rockwool Board fits the bill.
Contact Us for a Purchase and Consultation
Installing Rockwool Composite Panels on a metal frame isn't as hard as it seems. With the right preparation, tools, and a bit of patience, you can achieve a great result. If you have any questions about our Rockwool Composite Panels or need more detailed information on the installation process, don't hesitate to reach out. We're here to help you with all your insulation needs. Whether you're a DIY enthusiast or a professional contractor, we can provide you with the products and support you need. So, let's start a conversation about your project and see how our Rockwool Composite Panels can make a difference!

References
- Construction Manuals on Insulation Panels
- Industry Blogs and Forums on Building Materials